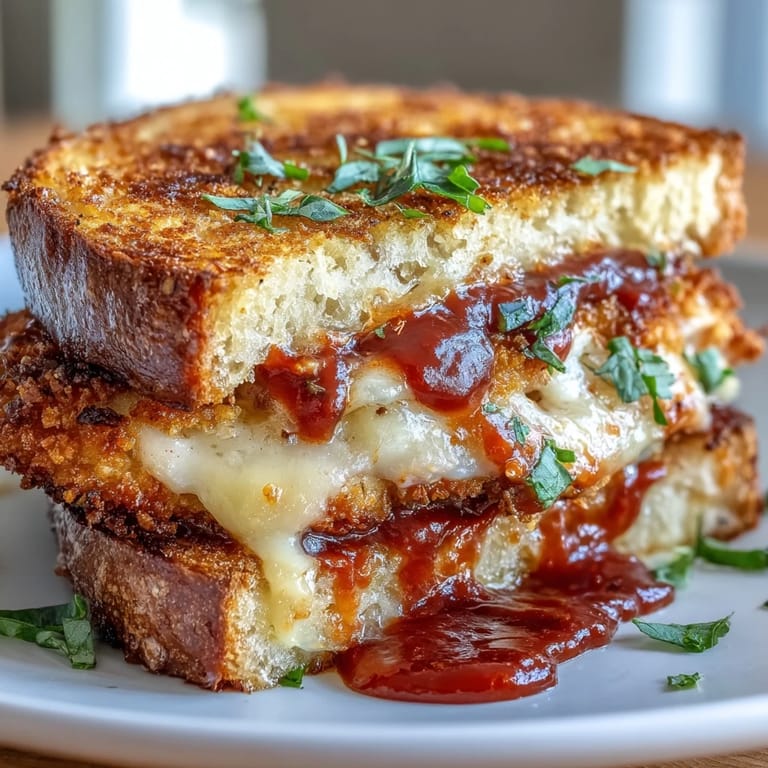
 Save to Pinterest
 There's something about the smell of chicken hitting hot oil that pulls me back to my friend Marco's kitchen on a random Tuesday afternoon. He'd just moved into his new place and wanted to celebrate with something that felt both restaurant-quality and completely doable at home. He handed me a chicken breast and a mallet, grinning like he'd just discovered the secret to happiness. Turns out, that sandwich became the thing we made every time someone needed comfort food or bragging rights at a dinner party. It's the kind of dish that makes you look like you've been cooking Italian food your whole life, even if you're just following your instincts.
I made this for my mom on a quiet Sunday when she'd had a rough week at work. She took one bite and got this peaceful look on her face, like all her tension just melted. She asked me to write down every step, which made me laugh because it's not exactly complicated, but I understood what she meant. Sometimes the most satisfying meals are the ones where you can taste that someone made it with care, not just ingredients.
Ingredients
- Boneless, skinless chicken breasts: Use two medium breasts and pound them to an even thickness of about three-quarters of an inch so they cook evenly and stay juicy inside while the coating crisps up.
- All-purpose flour: This is your first line of defense in the breading station, creating a slightly sticky layer that helps the egg adhere properly.
- Large eggs, beaten: This acts as your glue between the flour and breadcrumbs, so beat them until they're totally uniform and a little frothy.
- Breadcrumbs: Panko breadcrumbs give a lighter, crunchier crust than regular breadcrumbs, and they stay crispy longer once the sauce hits them.
- Italian seasoning: One teaspoon gives the chicken a subtle herbaceous note without overpowering anything, but taste and adjust if you like bolder seasoning.
- Salt and pepper: Season generously at every stage, especially the chicken before breading, because it won't pick up as much salt once it's coated.
- Olive oil, for frying: You need about half an inch in your skillet, and it should shimmer and move easily when you tip the pan, signaling it's ready.
- Vodka sauce: A good jarred brand works beautifully here, though homemade is wonderful if you have time, and it should be savory without being too acidic.
- Shredded mozzarella cheese: Freshly shredded melts more smoothly than pre-shredded, which has anti-caking agents that sometimes prevent a silky melt.
- Italian or ciabatta bread: Look for bread with some structure and an open crumb, not something dense that gets soggy under the sauce.
- Fresh basil leaves: A handful torn by hand right before serving adds brightness that cuts through the richness beautifully.
Tired of Takeout? 🥡
Get 10 meals you can make faster than delivery arrives. Seriously.
One email. No spam. Unsubscribe anytime.
Instructions
- Flatten your chicken evenly:
- Place each breast between two pieces of plastic wrap and use a meat mallet to pound it to roughly three-quarters of an inch thick. This is crucial because it ensures the chicken cooks through at the same rate the breading turns golden.
- Season before you bread:
- Sprinkle both sides of the chicken with salt, pepper, and Italian seasoning, letting the flavors actually touch the meat instead of just sitting on top of the coating. This step makes a real difference in the final taste.
- Set up your breading station strategically:
- Arrange three shallow bowls in a line with flour, beaten eggs, and breadcrumbs. Use one hand for dredging through the wet ingredients and your other hand for the dry ingredients so you don't end up with clumpy, over-breaded chicken.
- Bread with intention:
- Coat the chicken in flour, shaking off excess, then dip it into the egg, and finally press it gently into the breadcrumbs so they stick firmly rather than falling off during frying. Don't rush this part.
- Get your oil to the right temperature:
- Heat about half an inch of olive oil in a large skillet over medium heat until it shimmers and a small piece of bread dropped in sizzles immediately. If it's not hot enough, you'll get greasy chicken instead of crispy.
- Fry with patience:
- Place the breaded chicken carefully into the hot oil and let it sit undisturbed for five to seven minutes until the bottom is deep golden brown, then flip and cook the other side for another five to seven minutes. The key is resisting the urge to flip too early.
- Drain properly:
- Transfer the fried chicken to paper towels immediately so excess oil drains away and the crust stays crunchy. Let it rest for a minute before building your sandwiches.
- Warm your sauce gently:
- Pour the vodka sauce into a small saucepan and heat it over low heat, stirring occasionally, so it stays silky and doesn't break or separate. High heat can make it bitter.
- Toast your bread lightly:
- Give each slice of bread a quick toast in a toaster or on a skillet so it has enough structure to hold the sandwich together without being hard or brittle. This prevents sogginess from the warm sauce.
- Assemble with care:
- Place each hot chicken breast on a slice of toasted bread, then spoon a generous amount of warm vodka sauce over it. The warmth helps everything meld together beautifully.
- Add cheese and let it soften:
- Sprinkle shredded mozzarella on top of the sauce and cover the skillet with a lid or foil for a minute or two so the cheese gets soft and slightly melty without completely losing its shape. You want that gooey texture.
- Finish with fresh basil:
- Tear some basil leaves by hand and scatter them over the melted cheese just before you close the sandwich. This adds a fresh note that brightens the whole thing.
- Close and serve immediately:
- Top with the second slice of bread and serve right away while everything is still warm and the cheese is at its creamiest. Waiting even five minutes lets things cool down and lose their magic.
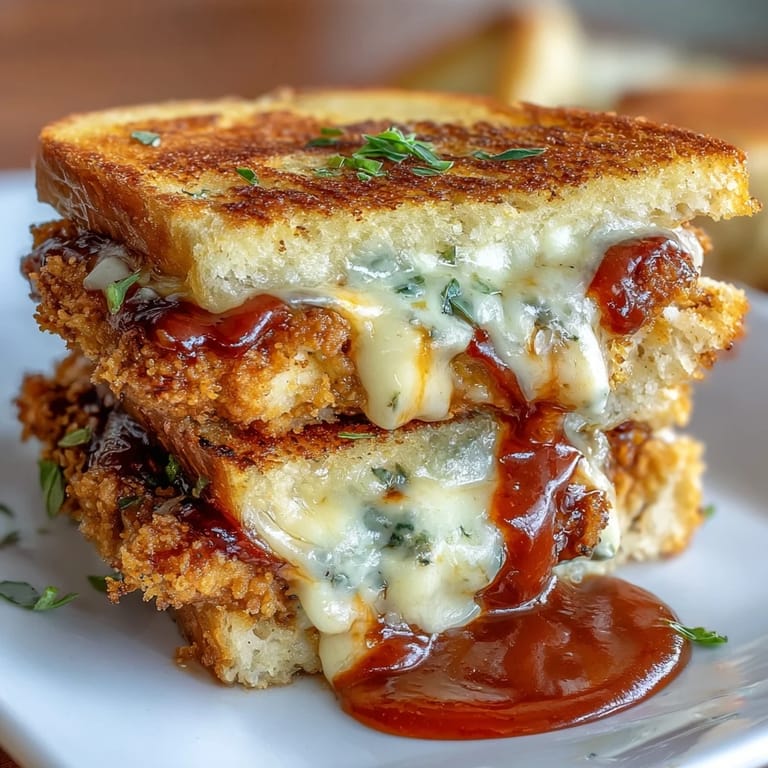 Save to Pinterest
 My neighbor stopped by one evening right as I was finishing a batch of these, and I offered her one almost without thinking. She called me the next day to say it had been exactly what she needed after a long day, and now we make them together every couple of months. Food doesn't always have to be complicated to matter.
Why the Breading Technique Really Matters
The difference between crispy and soggy breading comes down to how firmly you press the breadcrumbs onto the wet egg coating. I learned this by accident when I was in a hurry and barely tapped the breadcrumbs on, expecting them to stick on their own. They fell off in the oil, leaving me with half-naked chicken and a pan full of loose breadcrumbs. Now I press gently but deliberately, and the coating stays put even after the sauce soaks in slightly.
The Vodka Sauce Question
People always ask whether they need to make vodka sauce from scratch, and honestly, a good jarred version is perfectly respectable for this sandwich. What matters more is choosing one that tastes balanced, not too acidic or too sweet. If you do make it from scratch, remember that simmering it low and slow for at least thirty minutes allows the flavors to mellow and deepen, and the vodka adds a subtle warmth that you might not consciously notice but absolutely would miss if it weren't there.
Making This Ahead and Other Options
One of the best things about this sandwich is how well it adapts to your schedule. You can fry the chicken up to two days ahead, store it in an airtight container in the fridge, and reheat it gently in a 350-degree oven for about eight minutes until it's warm and the coating crisps back up. The vodka sauce also keeps beautifully for several days, which means you're just toasting bread and assembling on the day you want to eat.
- Try adding a layer of sautéed spinach or fresh arugula between the chicken and sauce for a green vegetable boost and a slight peppery flavor.
- Roasted red peppers from a jar add sweetness and a pop of color without requiring extra work on your part.
- If you want to switch up the bread, focaccia or a sturdy ciabatta roll works beautifully and sometimes holds up even better than regular bread.
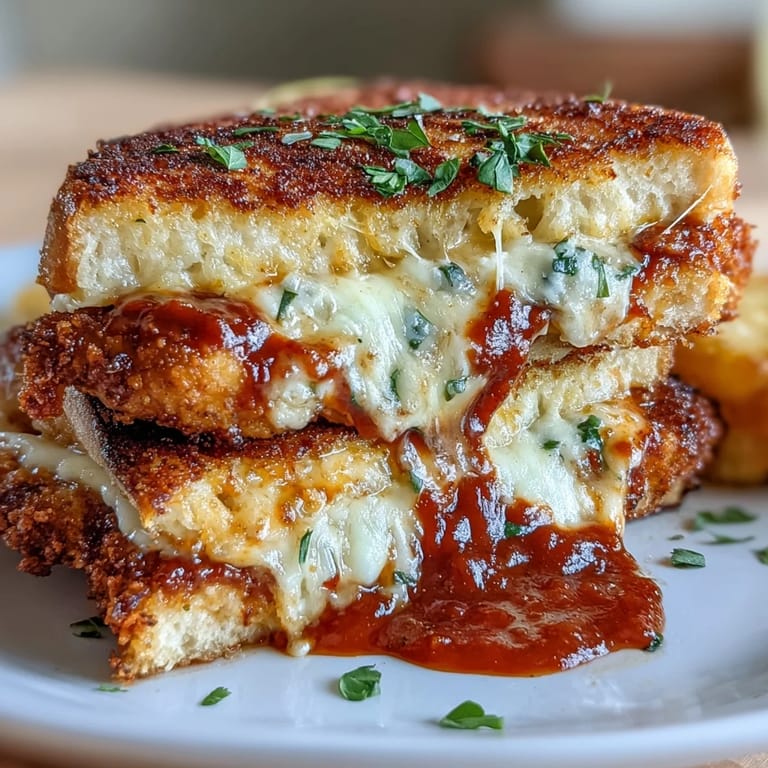 Save to Pinterest
 This sandwich reminds me that sometimes the most satisfying meals aren't the ones that take hours to plan or execute. They're the ones you make because someone you care about is sitting across from you, hungry and happy.
Your Questions Answered
- → What type of bread works best for this sandwich?
Italian bread or ciabatta are ideal due to their sturdy texture that holds the sandwich well. Focaccia or a sturdy roll can also be used for extra crunch.
- → How is the chicken prepared to ensure it's crispy?
The chicken breasts are breaded with seasoned flour, eggs, and breadcrumbs, then fried in olive oil until golden brown, resulting in a crispy exterior.
- → Can I make the sauce ahead of time?
Yes, the vodka sauce can be gently reheated before assembling the sandwich to retain its smooth texture and rich flavor.
- → What are some recommended garnishes for additional flavor?
Fresh basil leaves add a fragrant touch, while sautéed spinach or roasted red peppers can be layered for extra taste.
- → How can I melt the mozzarella properly on the sandwich?
After assembling, briefly cover the sandwich with a lid or foil to allow the cheese to soften and melt without overcooking.
- → What side pairings complement this sandwich?
Light Italian red wine or sparkling water with lemon pair wonderfully, balancing the rich and savory flavors.