 Save to Pinterest
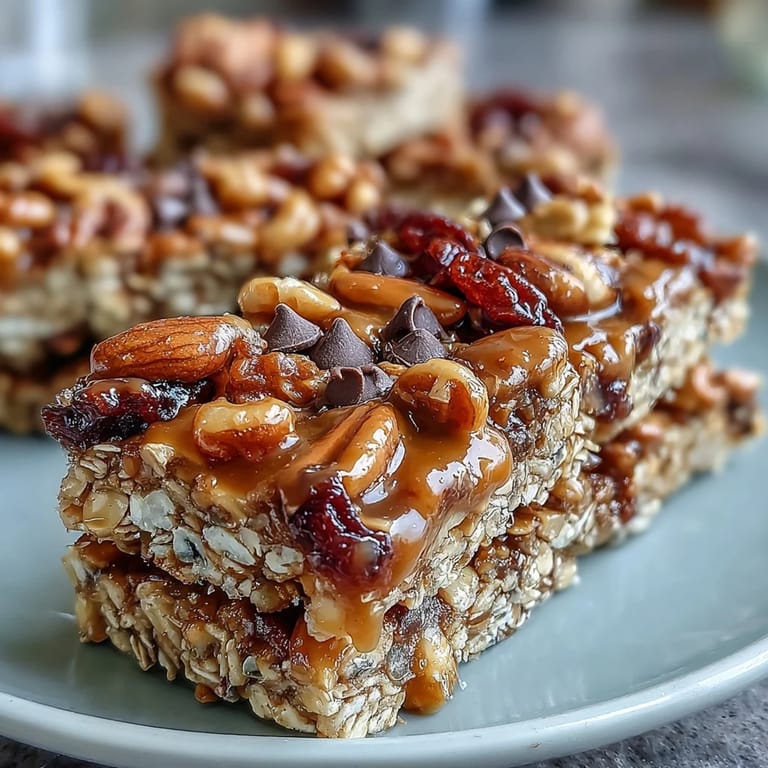
 My hiking buddy Sarah showed up at my door one Saturday morning with a stack of homemade granola bars wrapped in foil, and I remember thinking, "How did she find time to bake?" When she admitted they didn't require an oven, I was skeptical until I tasted one—chewy, nutty, naturally sweet, and so satisfying that I asked for the recipe before she'd even finished her coffee. That afternoon, I made my first batch while my partner prepped sandwiches for our trail trip, and by the time we hit the hiking path, I was already planning variations.
I packed these bars into my backpack for a mountain camping trip last fall, and halfway up a steep incline, when my legs were screaming and the trail seemed endless, one of these bars turned everything around. The honey sweetness hit different when you're exhausted, and the texture actually stayed perfect even though they'd been jostled around in my pack for hours. That's when I realized this recipe wasn't just convenient—it was genuinely designed for moments when you need something real and sustaining.
Ingredients
- Old-fashioned rolled oats (2 cups): Use these, not instant—they give you actual texture and chew, plus they absorb the honey perfectly without turning mushy.
- Crisp rice cereal (1 cup): This is your secret textural contrast; it prevents the bars from being dense and adds a subtle crunch that people can't quite place.
- Mixed nuts, chopped (1/2 cup): Don't skip roasting them lightly first if you have five minutes; it wakes up their flavor incredibly.
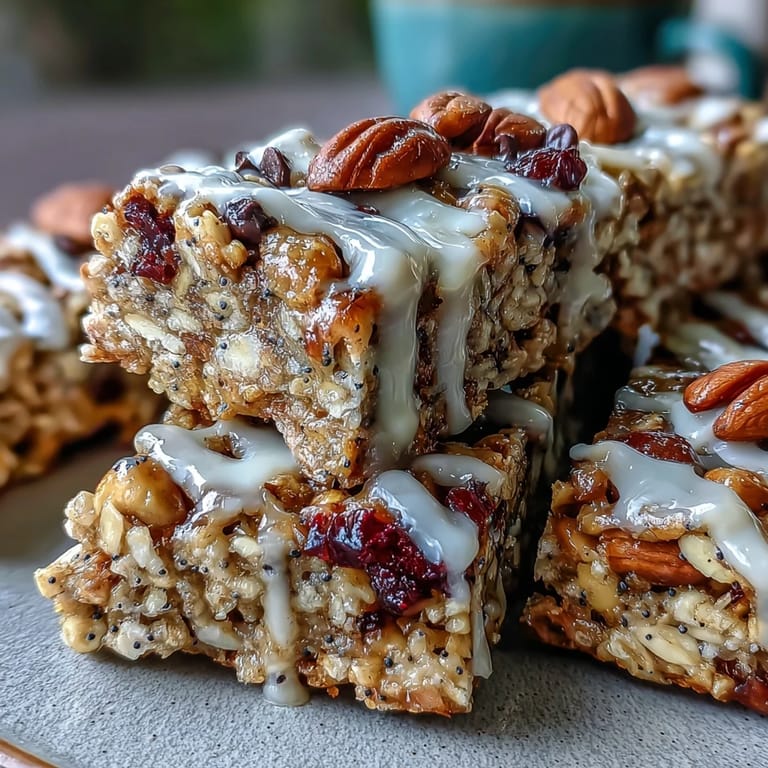
- Dried fruit (1/2 cup): Cranberries give tartness, raisins add chewiness, apricots bring subtle sweetness—mix based on what you're craving.
- Unsweetened shredded coconut (1/4 cup, optional): I add this for tropical notes and because it helps bind everything together.
- Salt (1/4 teaspoon): This tiny amount makes the honey taste sweeter and everything taste more intentional.
- Honey or maple syrup (1/2 cup): Honey gives earthiness; maple syrup adds deeper flavor—either works, but taste and smell yours first.
- Creamy peanut or almond butter (1/3 cup): The peanut butter creates a richer bar, while almond butter is more delicate; both bind everything together.
- Vanilla extract (1 teaspoon): Just a teaspoon pulls all the flavors forward and makes people wonder what's in here.
- Mini chocolate chips (1/4 cup, optional): Use good quality chocolate because you'll taste it, and add them after the mixture cools slightly or they'll vanish into puddles.
- Chia seeds or flaxseed meal (1 tablespoon, optional): These add a subtle nuttiness and boost the nutrition without changing the texture.
Tired of Takeout? 🥡
Get 10 meals you can make faster than delivery arrives. Seriously.
One email. No spam. Unsubscribe anytime.
Instructions
- Prepare your pan like you mean it:
- Line your 8-inch square pan with parchment paper, letting the edges overhang generously so you can lift the finished bars out without wrestling them. This step feels optional until you're trying to extract bars from the corners—then you'll wish you'd been more generous with the overhang.
- Combine all the dry ingredients:
- In a large bowl, mix the oats, rice cereal, nuts, dried fruit, coconut, and salt until everything is evenly distributed. You want every bite to have something crunchy, chewy, and sweet.
- Warm the binding mixture:
- Heat the honey and nut butter together over low heat, stirring constantly until they melt together into something silky and smooth, about 2–3 minutes. The moment it looks combined, pull it off the heat and stir in the vanilla extract.
- Marry the wet and dry:
- Pour the warm mixture over your dry ingredients and mix thoroughly until everything is coated—there shouldn't be any dry streaks of oats hiding underneath. This is the moment you'll hear the mixture shift from separate ingredients to something cohesive.
- Add chocolate if you're using it:
- Wait 2–3 minutes for the mixture to cool slightly, then stir in chocolate chips so they keep their shape instead of melting into the bars. If you skip this step, you'll end up with chocolate-flavored bars instead of bars with chocolate chips—still delicious, just different.
- Press into the pan firmly:
- Transfer the mixture to your prepared pan and press it down evenly with a spatula or the back of a measuring cup, making sure the bottom is compact and even. Uneven pressing means some bars will be dense while others are crumbly.
- Add toppings if desired:
- Sprinkle additional chocolate chips or nuts on top and press them in gently so they stay put when you cut the bars later. This step is purely aesthetic, but it makes people take you more seriously as a cook.
- Chill until they hold together:
- Refrigerate for at least 1 hour until the bars are set firm and hold their shape when you cut them. You can leave them overnight if you want—they actually improve slightly as the flavors settle.
- Cut and store:
- Lift the whole slab from the pan using the parchment overhang, place it on a cutting board, and use a sharp knife to cut into 12 bars. Store them in an airtight container in the refrigerator for up to a week, though they'll disappear faster.
 Save to Pinterest
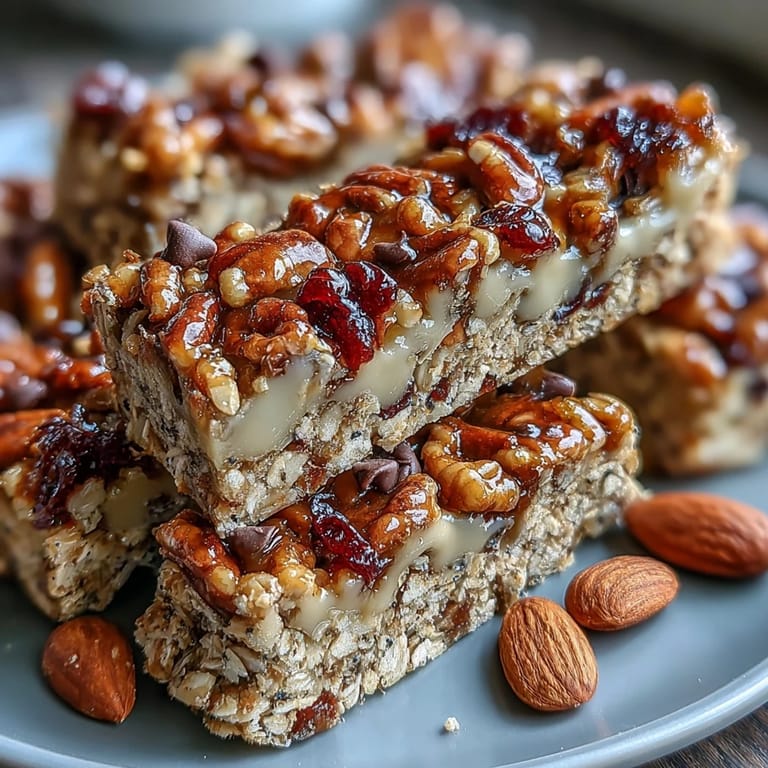
 There's something quietly satisfying about handing someone a granola bar you made yourself—it's simple enough that it doesn't feel like you're showing off, but intentional enough that they taste the care. My mom now keeps a batch in her desk drawer at work, and she texts me photos of people asking where she bought them.
Why This Recipe Changed My Snacking
Before I started making these, I was buying expensive granola bars that tasted like compressed sawdust held together by promises. This recipe taught me that homemade doesn't have to mean complicated—you're literally just mixing things together and letting the refrigerator do the work. Once you taste the difference between a bar made with actual honey and real nuts versus one made with high-fructose corn syrup and "natural flavors," you'll never go back.
Customization That Actually Works
The beauty of this recipe is that it's a framework, not a mandate. I've made versions with cardamom and dried figs for fall, with matcha powder and white chocolate for spring, and with coconut flakes and macadamia nuts when I'm feeling fancy. The only things that matter are keeping the oats, honey, and nut butter ratios consistent—everything else is your playground.
Storage and Make-Ahead Strategy
These bars actually get better after a day or two as the flavors settle and the texture becomes more uniform. I usually make a batch on Sunday evening while listening to a podcast, then portion them into pairs wrapped in parchment paper so I can grab them without thinking. They'll stay fresh in the refrigerator for a week, but if you want to extend their life, you can freeze them for up to three weeks.
- Keep them in an airtight container with parchment between layers so they don't stick together.
- If they soften slightly at room temperature, just pop them back in the fridge for 20 minutes to firm up again.
- Make a double batch if you're planning a busy week—your future self will thank you when you're rushing out the door.
 Save to Pinterest
 These bars have become my go-to gift for friends who are busy, hiking buddies who need fuel, and anyone who appreciates food that tastes like actual ingredients. Once you make them once, you'll keep making them.
Your Questions Answered
- → How long should I chill the bars?
Refrigerate the bars for at least 1 hour to allow them to set and firm up properly before cutting.
- → Can I substitute peanut butter with another spread?
Yes, sunflower seed butter or almond butter are great alternatives to accommodate dietary preferences or allergies.
- → Are these bars suitable for a vegan diet?
Use maple syrup as the sweetener and dairy-free chocolate chips to make these bars vegan-friendly.
- → What texture can I expect from these bars?
The bars are chewy yet sturdy, combining crunchy nuts and dried fruit for a balanced bite.
- → Can I add spices to enhance the flavor?
Yes, spices like cinnamon or cardamom can be added to the dry ingredients for extra warmth and depth.
- → How should I store the bars?
Store the bars in an airtight container in the refrigerator to keep them fresh for up to one week.