 Save to Pinterest
 The kitchen counter was dusted with cocoa powder when I first tried making hot chocolate bombs during a particularly frigid January weekend. My daughters were begging for something special after a day of sledding, and I remembered seeing these chocolate spheres on social media that dramatically dissolved in hot milk. Their wide-eyed wonder as they watched their mugs transform into creamy hot chocolate was worth every minute spent perfecting those chocolate shells. That magical moment became our winter ritual, with each batch getting more creative than the last.
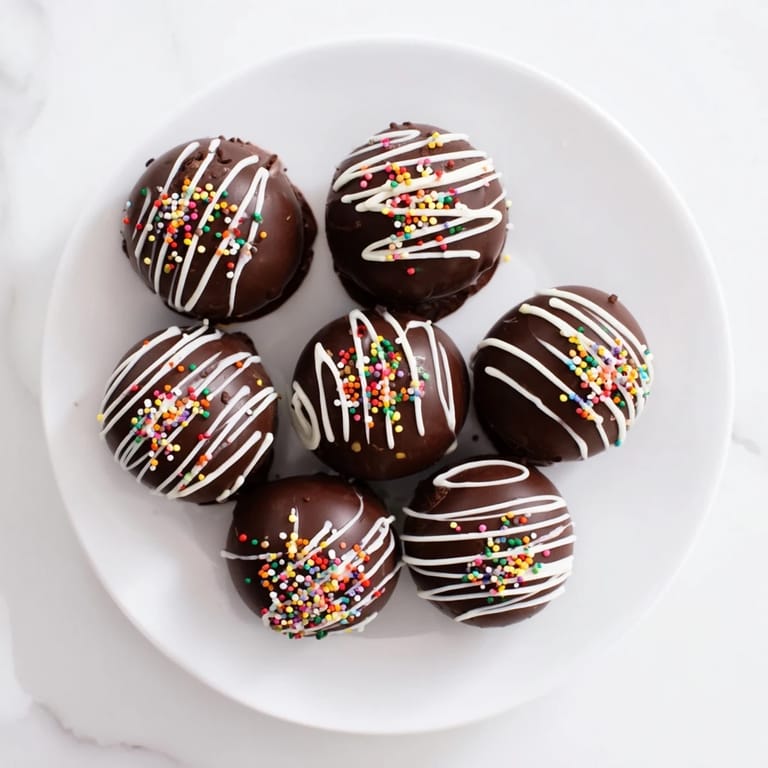
Last Christmas Eve, my sister and her family came over for our annual pajama party, and I had prepared a tray of these bombs topped with different colored sprinkles for each person. The kitchen filled with gasps and laughter as we poured the hot milk and watched each persons unique creation bloom before their eyes. My brother-in-law, who claims not to have a sweet tooth, asked for the recipe before the night was over.
Ingredients
- 300g high-quality chocolate: Please dont skimp here, as the chocolate shell is the star of the show and Ive learned the hard way that compound chocolate just doesnt melt as beautifully.
- Cocoa powder and powdered sugar: The perfect 1:1 ratio creates that rich hot chocolate flavor without being overly sweet or bitter.
- Mini marshmallows: These little clouds are what make the reveal so magical, floating to the top as the bomb dissolves.
- White chocolate and sprinkles: Optional but they turn these bombs from homemade treats to gift-worthy confections.
Tired of Takeout? 🥡
Get 10 meals you can make faster than delivery arrives. Seriously.
One email. No spam. Unsubscribe anytime.
Instructions
- Melt with patience:
- Slowly melt your chocolate using a double boiler or in 30-second microwave intervals, stirring each time until silky smooth. You want it fluid but not too hot, or youll lose that beautiful temper.
- Build your shells:
- Paint the melted chocolate into your silicone molds with gentle, deliberate strokes, making sure to create an even layer that reaches the edges. Think of it like painting the inside of a delicate ornament.
- Chill and reinforce:
- After the first layer sets in the refrigerator, add a second coat for strength. Those thin spots will crack if you rush this step, trust me.
- Fill with magic:
- Once unmolded, each half-sphere is like a tiny chocolate bowl waiting for its treasures. Add your cocoa mixture and a generous handful of marshmallows to one half only.
- Create the seal:
- The trick to a perfect seam is working quickly with a warm plate. Just a gentle touch to melt the rim before joining the halves together.
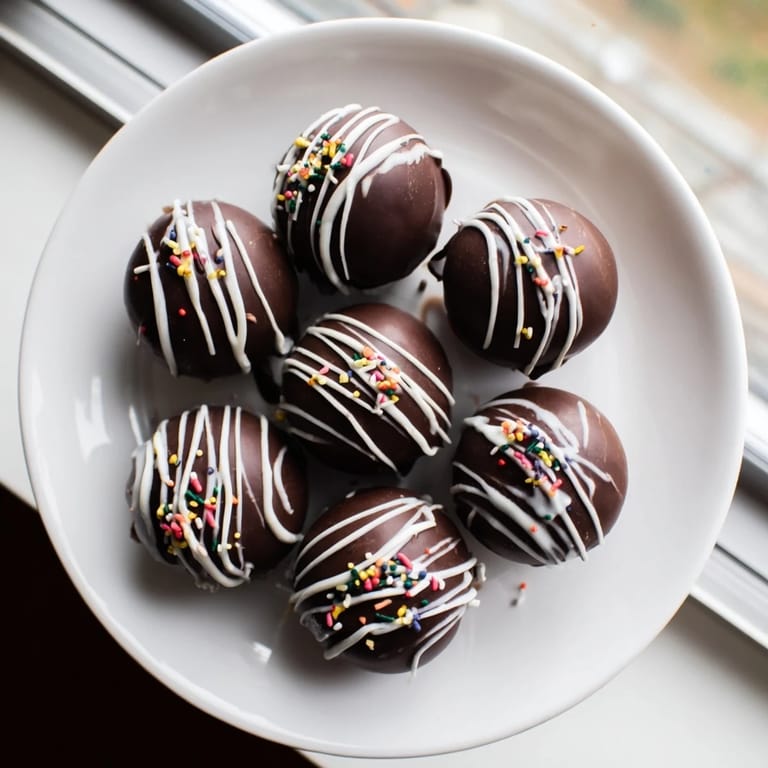
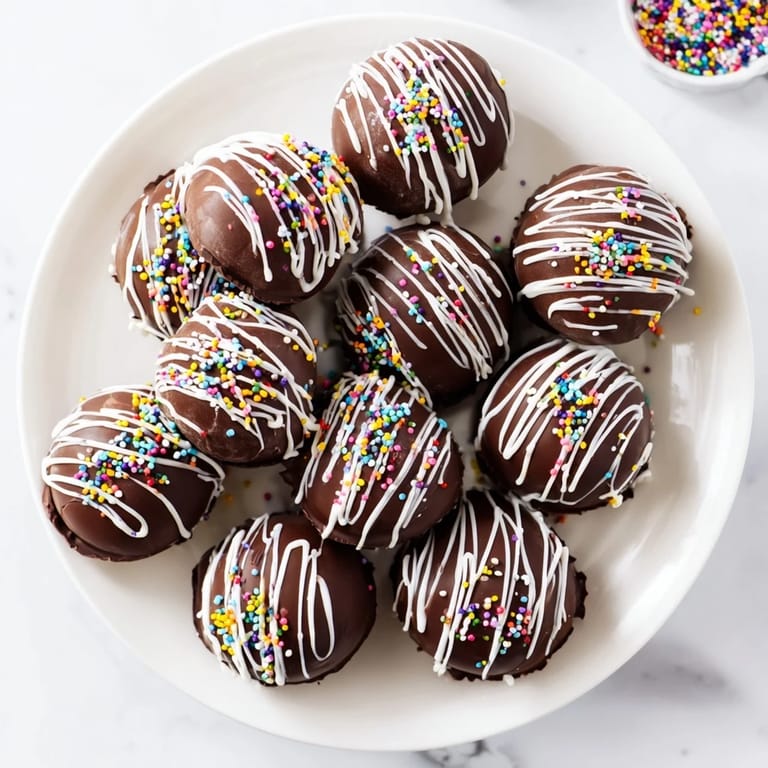
- Decorate with flair:
- Let your creativity shine with drizzles of contrasting chocolate and festive sprinkles. My kids always insist on this part, turning each bomb into a unique creation.
- The grand finale:
- Place your finished bomb in a mug and pour hot milk over it, then watch the show. Theres something almost therapeutic about watching it slowly collapse and release its contents.
 Save to Pinterest
 One particularly hectic afternoon before a holiday gathering, I was rushing to finish a batch when my neighbor stopped by with her seven-year-old daughter. The little girl was so entranced watching me seal and decorate the bombs that her mom texted me later saying they had to make a special trip for supplies because her daughter couldnt stop talking about the chocolate magic. That moment reminded me how food can create wonder at any age.
Flavor Variations Worth Trying
After dozens of batches, Ive found that adding unexpected elements creates memorable twists that guests cant quite identify but always love. A pinch of sea salt in the cocoa mixture enhances all the flavors, while a few drops of peppermint extract turns these into holiday-worthy treats. My personal favorite discovery was adding a tiny pinch of cayenne to the cocoa mix, creating a subtle warmth that blooms as you sip.
Storage and Gifting Ideas
These bombs have saved me countless times when I needed last-minute gifts. Wrapped individually in colorful cellophane and tied with ribbon, they become instant presents that feel much more special than store-bought alternatives. Ive packed them in decorative boxes with handwritten instructions, and friends have told me months later they were saving them for a special occasion. Just remember to keep them in a cool spot, as I once learned when I stored a batch too close to the oven and returned to find slightly misshapen spheres.
Troubleshooting Common Issues
The first time I made these, I encountered every possible problem, from chocolate that wouldnt release from the molds to sealed bombs that leaked their contents before use. Now I know that patience is the essential ingredient that cant be measured in tablespoons. Working with chocolate requires respecting its temperamental nature and accepting that sometimes youll need to start over.
- If your chocolate shell is sticking to the mold, try placing it in the freezer for 2-3 minutes, which usually causes enough contraction for easy release.
- When sealing the halves together, work quickly but dont press too hard or youll crack your shell before its even complete.
- Store your finished bombs away from humidity or they may develop a whitish bloom, which doesnt affect taste but diminishes their beautiful appearance.
 Save to Pinterest
 These hot chocolate bombs have become more than just a treat in our home, theyve become part of our winter storytelling tradition. Each mug holds not just chocolate and marshmallows, but memories of laughter, surprised faces, and moments of pure delight.
Your Questions Answered
- → What type of chocolate works best for the shells?
High-quality dark or milk chocolate produces the best results. For a richer flavor, blend both varieties. Ensure the chocolate contains cocoa butter for smooth melting and proper shell formation.
- → How do I prevent the chocolate shells from cracking?
Apply multiple thin layers of chocolate rather than one thick layer. Refrigerate thoroughly between coatings and allow complete setting before unmolding. Handle shells gently to avoid stress fractures.
- → Can I make these in advance?
Yes, store finished bombs in an airtight container at room temperature for up to two weeks. This makes them ideal for gift-giving or preparing ahead for gatherings.
- → What temperature should the milk be when pouring?
Use very hot milk, just below boiling point (around 200°F or 93°C). This ensures the chocolate shell softens quickly and the cocoa powder and marshmallows fully dissolve into a creamy consistency.
- → How can I customize the filling flavors?
Add cinnamon, chili powder, or vanilla extract to the cocoa mixture. Substitute mini marshmallows with flavored varieties, crushed peppermint candies, or add espresso powder for a mocha variation.
- → What size molds should I use?
Silicone sphere molds measuring 2.5 inches in diameter work perfectly. This size creates bombs that fit standard mugs and contain adequate filling for one generous serving of hot chocolate.