 Save to Pinterest
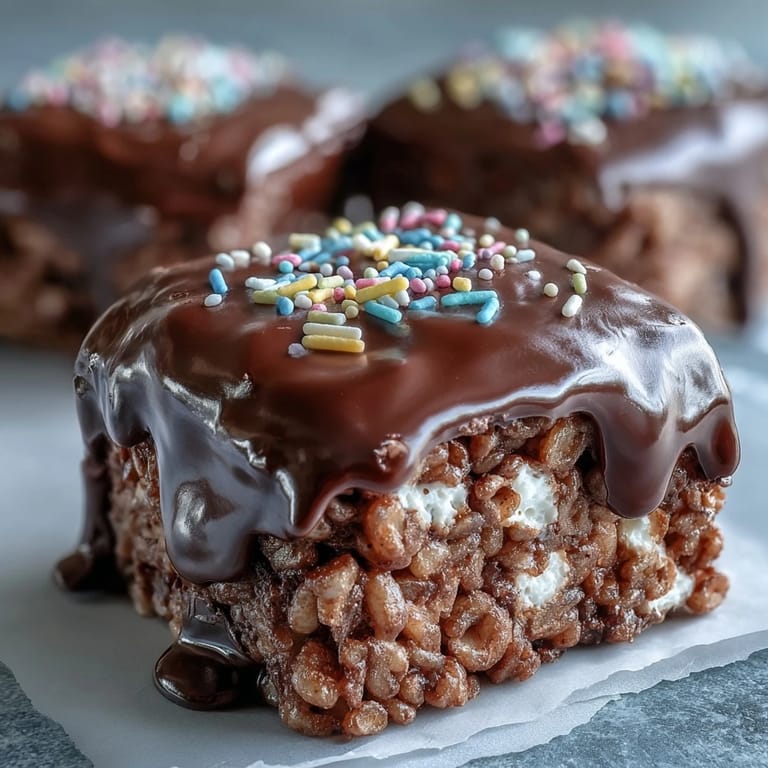
 My neighbor once brought a tray of these to a block party, and I watched them vanish in under ten minutes. The chocolate was still slightly tacky, the sprinkles glittering under the string lights, and every single person went back for seconds. I begged her for the recipe that night, scribbling notes on a napkin while kids ran circles around us. Now I make them whenever I need something that looks impressive but comes together faster than most people can decide on a movie.
I made a batch for my sons birthday party last spring, and his friend asked if I owned a bakery. I laughed so hard I nearly dropped the platter. The secret is that glossy chocolate layer—it hides every imperfection and makes each square look like it came from a candy shop. I started adding a tiny pinch of flaky sea salt on top after that, just to feel a little fancy.
Ingredients
- Unsalted butter (6 tablespoons, plus extra for greasing): This is the fat that helps the marshmallows melt smoothly without sticking to the pan, and a little extra on your hands makes pressing the mixture so much easier.
- Mini marshmallows (1 package, 10 ounces): They melt faster and more evenly than the large ones, creating that signature gooey binder without any lumps.
- Rice Krispies cereal (6 cups): The classic crispy base that gives each bite its satisfying crunch and light, airy texture.
- Fine sea salt (¼ teaspoon, optional): Just a whisper of salt balances the sweetness and makes the chocolate taste richer.
- Semisweet or dark chocolate chips (1 ½ cups): The glossy topping that turns these from snack to showstopper, and dark chocolate adds a grown-up edge.
- Vegetable oil or coconut oil (1 teaspoon): This keeps the chocolate silky and pourable, preventing it from seizing or turning chalky.
- Rainbow sprinkles or chopped nuts (2 tablespoons, optional): The final flourish that adds color, crunch, or a little whimsy depending on your mood.
Tired of Takeout? 🥡
Get 10 meals you can make faster than delivery arrives. Seriously.
One email. No spam. Unsubscribe anytime.
Instructions
- Prep the pan:
- Lightly grease an 8x8-inch or 9x9-inch square baking pan with butter, making sure to get into the corners. If you line it with parchment paper, lifting the finished block out becomes effortless.
- Melt the butter:
- In a large saucepan over low heat, melt the 6 tablespoons of butter, stirring constantly so it doesnt brown or burn. The moment it turns liquid and clear, youre ready for the marshmallows.
- Melt the marshmallows:
- Add the mini marshmallows to the melted butter and keep stirring until theyre completely melted and the mixture is smooth and glossy. This takes about 3 to 4 minutes, and patience here means no sticky clumps later.
- Season and mix:
- Remove the pan from heat and stir in the sea salt if youre using it. Add the Rice Krispies cereal and fold gently with a spatula until every piece is coated in that marshmallow cloud.
- Press into the pan:
- Transfer the mixture to your prepared pan and use a buttered spatula or lightly greased hands to press it down evenly and firmly. Dont smash it too hard or the bars will be dense, just firm enough to hold together.
- Let it rest:
- Let the pressed mixture sit at room temperature for about 10 minutes so it cools slightly and sets up. This makes spreading the chocolate so much cleaner.
- Melt the chocolate:
- In a microwave-safe bowl, combine the chocolate chips and oil, then microwave on medium power in 30-second intervals, stirring after each, until the chocolate is melted and glossy. Overheating will make it grainy, so go slow.
- Pour and spread:
- Pour the melted chocolate over the cooled Rice Krispy layer and spread it evenly with an offset spatula or the back of a spoon. Work quickly before the chocolate starts to set.
- Add garnish:
- Immediately sprinkle rainbow sprinkles or chopped nuts over the wet chocolate so they stick. This is your chance to make them look as fun or elegant as you like.
- Set the chocolate:
- Allow the treats to set at room temperature for at least 1 hour, or refrigerate for 20 to 30 minutes until the chocolate is firm to the touch. Patience now means clean cuts later.
- Cut into bars:
- Once the chocolate is set, lift the block from the pan using parchment overhang or invert it onto a cutting board. Use a sharp knife to cut into 12 to 16 bars, wiping the blade between cuts for neat edges.
 Save to Pinterest
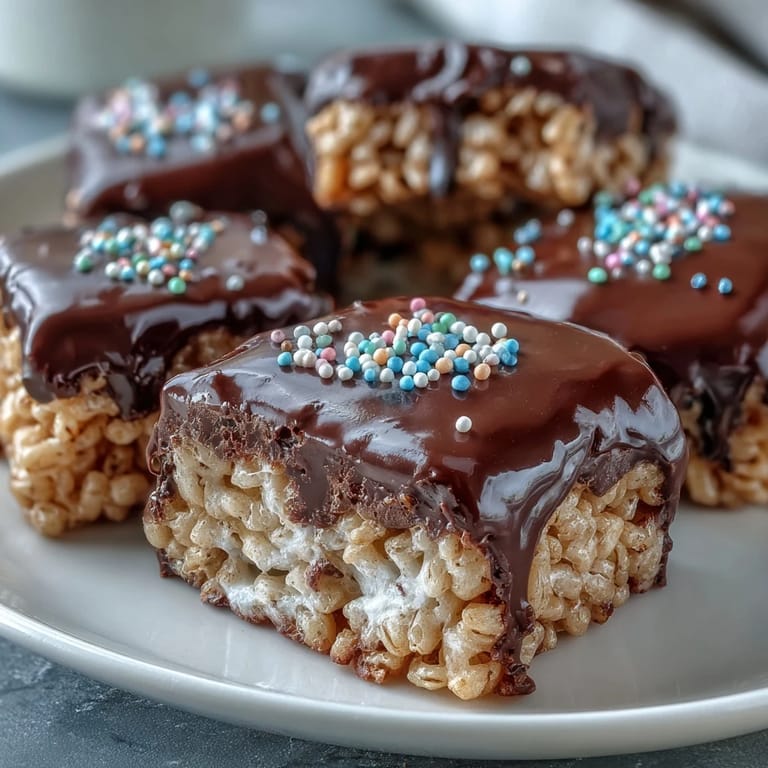
 The first time I brought these to a potluck, someone asked if they were from a gourmet chocolate shop downtown. I just smiled and said they were a family recipe, which felt true enough after making them a dozen times. Theres something deeply satisfying about watching people bite through that chocolate shell and hit the marshmallow crunch, their eyes widening like theyve discovered something secret.
How to Store and Keep Them Fresh
I keep mine in an airtight container at room temperature, tucked away on the counter where theyll stay soft and chewy for up to three days. If your kitchen runs warm or you want them to last longer, the fridge works beautifully for up to a week, though the chocolate may lose a bit of its shine. Let them sit out for a few minutes before serving if theyve been chilled, so the marshmallow softens back up and the chocolate isnt too hard to bite.
Flavor Twists Ive Tried
Ive swapped the semisweet chocolate for white chocolate and topped it with freeze-dried strawberries for a spring version that tasted like a fancy dessert bar. Another time I used dark chocolate and sea salt flakes, and my husband declared it the best thing Id made all month. You can also stir a half teaspoon of vanilla extract or a tablespoon of peanut butter into the melted marshmallows for a subtle flavor boost that makes people ask whats different.
Serving Suggestions and Occasions
These bars shine at birthday parties, bake sales, or any time you need a dessert that travels well and doesnt require forks. I like to cut them into small squares and stack them on a tiered stand for baby showers, or wrap them individually in cellophane tied with ribbon for party favors. Theyre also perfect for late-night cravings when you want something sweet but dont want to turn on the oven.
- Serve them on a platter with fresh berries and whipped cream for a fun dessert board.
- Pack them in lunchboxes as a special treat that wont get squished or soggy.
- Pair them with cold milk or hot coffee for an afternoon pick-me-up that feels nostalgic and indulgent.
 Save to Pinterest
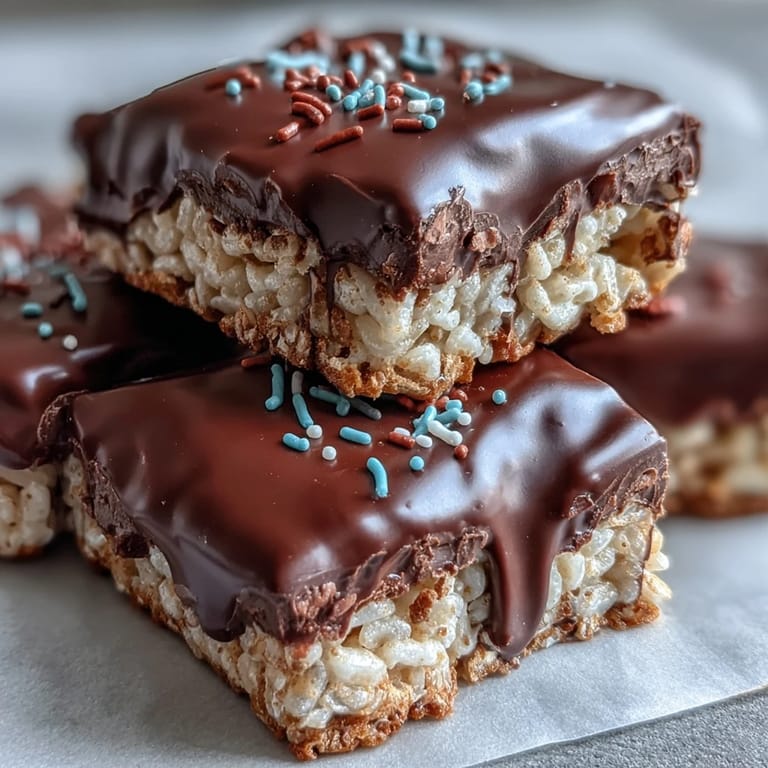
 Every time I make these, I remember that block party and the way something so simple brought everyone together over sticky fingers and shared laughter. Theyre proof that the best recipes dont have to be complicated, they just have to make people smile.
Your Questions Answered
- → How long do these chocolate covered treats stay fresh?
Store in an airtight container at room temperature for up to 3 days, or refrigerate for up to a week. The chocolate may develop a slight bloom if refrigerated, but this won't affect the taste.
- → Can I use white chocolate instead of semisweet?
Absolutely! White chocolate works beautifully and pairs wonderfully with pastel sprinkles for a festive variation. The melting method remains the same.
- → Why does my chocolate seize when melting?
Chocolate seizes when moisture gets into it. Always ensure your bowl and utensils are completely dry. The teaspoon of oil helps create a smooth, glossy finish and prevents seizing.
- → Can I make these ahead for a party?
Yes! These are perfect for making ahead. Prepare them 1-2 days in advance, store in an airtight container, and they'll be ready to serve. The texture actually improves after resting overnight.
- → What's the best way to cut clean squares?
Let the chocolate set completely at room temperature or in the refrigerator. Use a sharp knife wiped clean between cuts, and press down firmly rather than sawing. For extra clean edges, briefly warm the knife under hot water and dry before cutting.