 Save to Pinterest
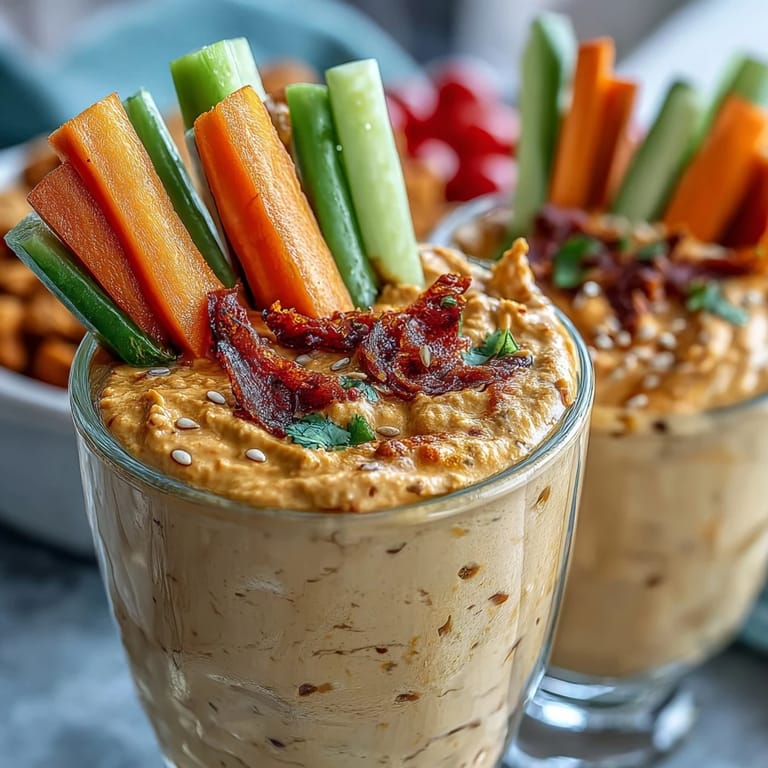
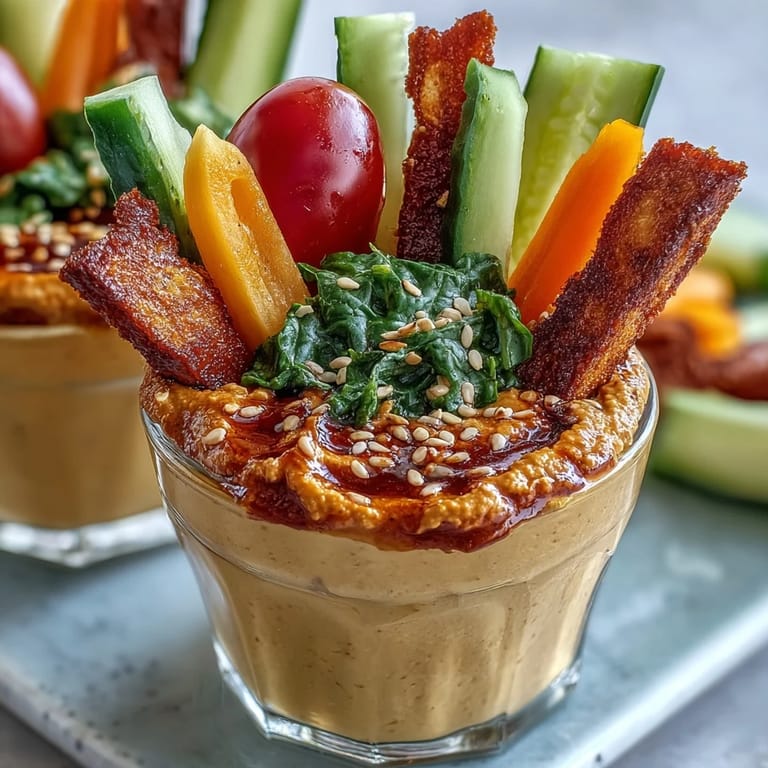
 My daughter came home from school one afternoon with a complaint I'd heard a hundred times: her lunchbox snacks were boring. That weekend, I found myself standing in the kitchen with a pile of vegetables and a container of hummus, wondering if I could turn the ordinary into something she'd actually get excited about. By stacking colorful veggie sticks upright in little jars with creamy hummus at the bottom, something clicked—suddenly she was asking to pack these cups for every field trip and road trip that came our way.
I packed these for a family camping trip last summer, and watching my kids grab them before the chips told me everything I needed to know about whether I'd nailed it. Even the picky eater at the table had three cups polished off before we'd set up the tent.
Ingredients
- Hummus: The creamy foundation that holds everything together—choose store-bought to save time or make your own chickpea version if you're feeling ambitious.
- Carrots: Their natural sweetness and satisfying crunch make them the MVP of any veggie cup.
- Cucumber: Cool, hydrating, and they stay crisp for days when cut into sticks.
- Red and yellow bell peppers: These add both color and a subtle sweetness that kids gravitate toward.
- Snap peas: Sweet little pods that are fun to eat and naturally portion-controlled.
- Cherry tomatoes: Pop one in your mouth between dips for a burst of freshness.
- Celery sticks (optional): If you like the classic pairing with dip, these are your friend.
- Jicama sticks (optional): A secret ingredient that adds a crisp texture many people don't expect.
Tired of Takeout? 🥡
Get 10 meals you can make faster than delivery arrives. Seriously.
One email. No spam. Unsubscribe anytime.
Instructions
- Wash and prep your vegetables:
- Rinse everything under cool water and pat dry—water clinging to veggies will make them wilt faster. Cut carrots, cucumbers, and peppers into stick shapes about the length of your index finger, keeping them uniform so they look intentional.
- Portion the hummus:
- Spoon roughly 1/4 cup hummus into each of your six small cups or jars, spreading it gently across the bottom to create a base for your vegetable sticks. This is your dipping foundation, so don't skimp.
- Arrange your veggie sticks:
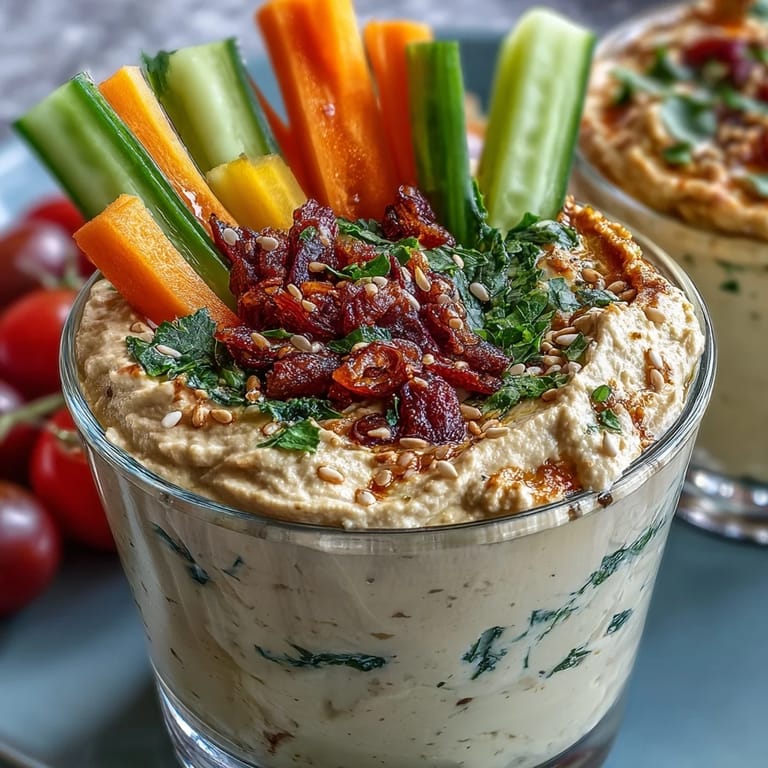
- Stand the vegetable sticks upright in the hummus like a colorful bouquet, tucking cherry tomatoes and snap peas into the gaps. The hummus acts as both anchor and dip, so pack them in snugly enough that they won't topple when you close the lid.
- Seal and chill:
- Pop the lids on and refrigerate for at least an hour before packing them for transport. They'll stay fresh for two days, though they're best eaten within the first day when vegetables are crispest.
 Save to Pinterest
 There was a moment during my son's soccer tournament when he pulled out one of these cups during halftime, and three other parents asked me for the recipe right then and there. That's when I realized these weren't just snacks—they were conversation starters.
Making Them Your Own
The beauty of these cups is that they adapt to whatever you have on hand and whatever you're craving. In spring, I swap in fresh radishes and blanched asparagus spears; in winter, I roast some vegetables lightly just to add warmth and a different texture. You can also play with hummus flavors—a drizzle of olive oil and a sprinkle of za'atar on top transforms the whole thing, or mix a little hot sauce into the hummus for an edge.
Storage and Timing Tips
These cups are at their best when assembled no more than a day ahead, but the prep work is so quick that you can actually cut everything the night before and assemble in the morning. I keep my cut vegetables in separate containers overnight, then build the cups right before leaving the house—it only takes five minutes and you get the crispest result.
Beyond the Basics
Once you've mastered the classic version, you can experiment with proteins and other additions. I've added baked tofu cubes for extra sustenance, included cheese for non-dairy-free versions, and even tucked in some roasted chickpeas for crunch. The cups work just as well as a light appetizer at a party as they do in a lunchbox—arrange them on a board and suddenly you look like you've got your life together.
- Try roasting chickpeas with paprika and tossing them into the mix for added protein and crunch.
- Keep these in your bag or car for those moments when hunger strikes unexpectedly.
- Make a double batch on Sunday for grab-and-go ease throughout the week.
 Save to Pinterest
 These cups have become our answer to a thousand moments—the after-school hunger before dinner, the road trip boredom, the "I'm not eating vegetables" standoff. They're simple enough to feel effortless but thoughtful enough to make people smile.
Your Questions Answered
- → What vegetables work best in these snack cups?
Fresh, crunchy vegetables such as carrots, cucumbers, bell peppers, snap peas, and cherry tomatoes provide ideal texture and flavor.
- → Can I prepare the snack cups in advance?
Yes, assembling ahead and refrigerating up to 2 days keeps the veggies fresh and ready to enjoy anytime.
- → How should the hummus be stored before use?
Use either store-bought or homemade hummus kept refrigerated, ensuring it remains fresh and creamy before assembly.
- → Are there seasoning options to enhance flavor?
Sprinkle paprika, zaatar, or drizzle olive oil over hummus before adding vegetables for extra taste.
- → Can substitutions be made for the vegetable sticks?
Yes, try blanched green beans, radishes, broccoli florets, or add baked tofu or cheese cubes for protein variation.