 Save to Pinterest
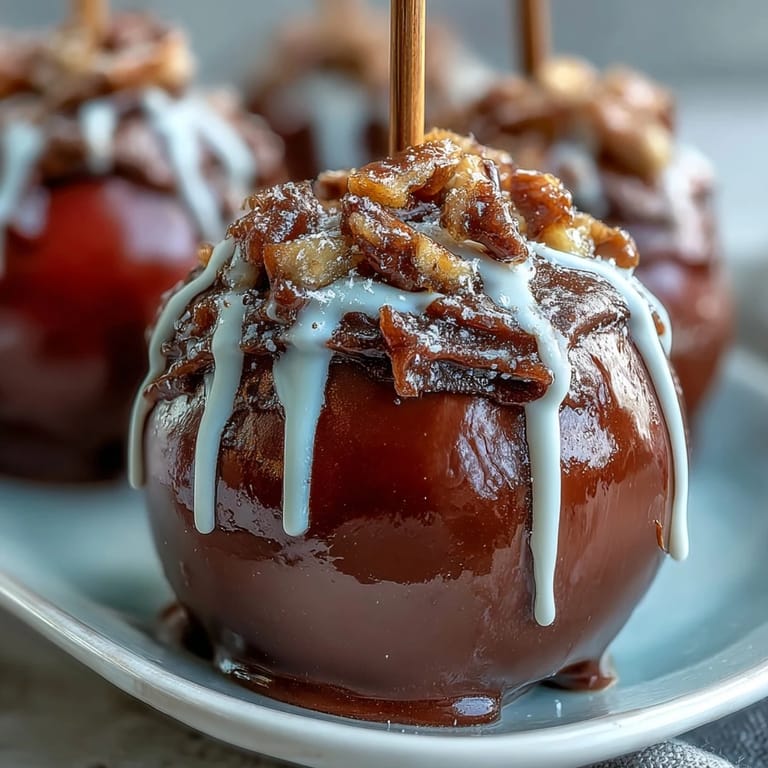
 My aunt showed up to our county fair booth one summer with a tower of glossy red candy apples, and I watched people gravitate toward them like they were magnetic. There's something about that shine, that crack when you bite through to the tart apple underneath—it feels like biting into childhood itself. I spent years thinking candy apples required some secret bakery technique until I realized it's mostly just patience and a thermometer. Now I make them for gatherings, and they always disappear fastest, even before the cookies.
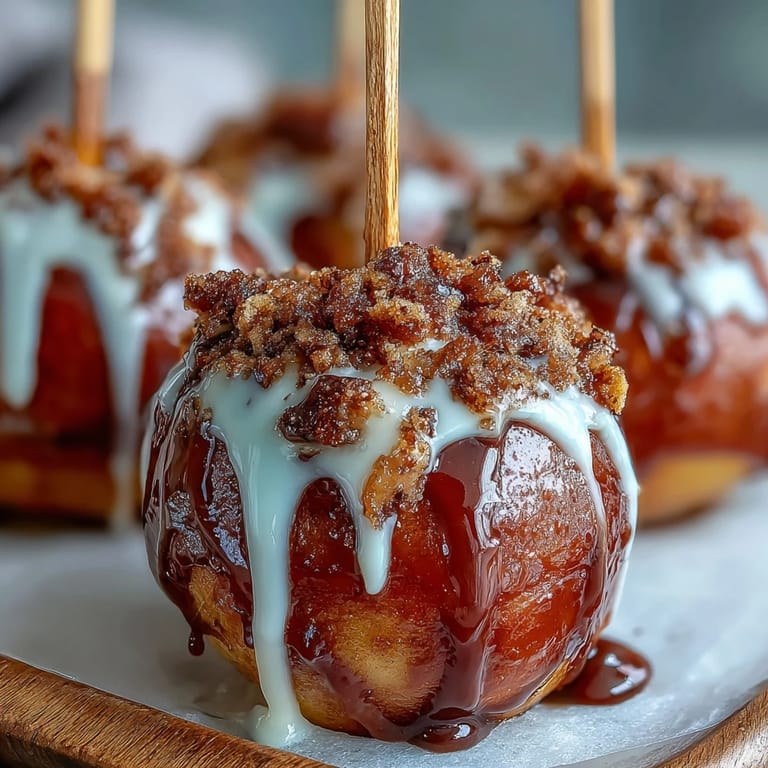
I made these for my daughter's school bake sale, and they sold out in twenty minutes—one kid came back asking if I'd make them for his birthday party. That's when I knew this wasn't just a treat; it was something special enough to become part of how people remember occasions. The combination of crisp coating and juicy apple is genuinely unbeatable, and the white chocolate drizzle takes them from nostalgic to elegant without any fuss.
Ingredients
- Granny Smith or Gala apples (8 small to medium): Granny Smiths are tarter and hold up better, but Galas bring sweetness—I use whichever feels crisp when I squeeze gently, and the dryness matters more than the variety.
- Wooden sticks (8): Craft sticks or popsicle sticks work equally well; soak the tips in water for five minutes if you're worried about scorching.
- Granulated sugar (2 cups): This is your candy base, and it needs to reach hard-crack stage, so measuring accurately keeps things predictable.
- Light corn syrup (1/2 cup): This prevents crystallization and gives you that glossy finish that makes the apples look like they're glowing.
- Water (3/4 cup): The liquid that carries everything to temperature; use filtered water if you're in a mineral-heavy area.
- Red gel or liquid food coloring (1/2 tsp): Gel coloring gives richer color than liquid, and you'll use less because it's concentrated.
- Cream of tartar (1/8 tsp, optional): A tiny pinch smooths out the texture and prevents graininess, though you can skip it in a pinch.
- White chocolate (3 oz, chopped or chips): Quality matters here—cheap chocolate doesn't drizzle as smoothly or taste as clean.
- Coconut or vegetable oil (1 tsp, optional): Just a touch thins the white chocolate slightly so it flows without burning or seizing.
Tired of Takeout? 🥡
Get 10 meals you can make faster than delivery arrives. Seriously.
One email. No spam. Unsubscribe anytime.
Instructions
- Set your stage:
- Line a baking sheet with parchment and give it a light grease so the apples don't stick. Push wooden sticks firmly into the stem end of each apple at a slight angle, and set them within arm's reach of where you'll be working—you'll move fast once the candy is ready.
- Combine your candy base:
- Pour sugar, corn syrup, water, and cream of tartar into your heavy saucepan, stirring gently until everything mingles. This is the calm moment before heat; once you turn up the burner, you're mostly watching, not stirring.
- Heat without hesitation:
- Set the pan over medium heat and clamp your candy thermometer to the side, making sure the bulb sits in the liquid but not touching the bottom. Bring the mixture to a boil and let it bubble undisturbed—stirring now breaks down the sugar crystals and ruins the batch.
- Add color at the right moment:
- When the thermometer hits 250°F, carefully pour in your red food coloring and swirl the pan gently two or three times to distribute it evenly. The color will blend in as the heat does the work.
- Reach hard-crack stage:
- Keep watching as the temperature climbs toward 300°F; this takes another few minutes and the mixture will deepen in color slightly. Once you hit exactly 300°F, turn off the heat immediately—overshooting by even five degrees changes the texture.
- Dip with speed and care:
- Working quickly, tilt the pan and roll each apple through the candy in one smooth motion, turning to coat the bottom and sides evenly. The candy hardens fast, so let excess drip back into the pan for a second, then set the apple on your parchment sheet and move to the next one.
- Let it set and cool:
- Step back and let the apples rest for about ten minutes—the coating will go from glossy liquid to that hard, beautiful shell. Patience here means a crisp coat, not a sticky one.
- Melt your white chocolate:
- In a microwave-safe bowl, combine your chopped white chocolate with a teaspoon of oil if using it, then microwave in twenty-second bursts, stirring between each one until completely smooth. Don't push past smooth or it seizes and becomes grainy.
- Drizzle with intention:
- Either spoon the white chocolate in thin lines over each apple or transfer it to a piping bag for finer control. Let the drizzle set for ten minutes before you serve them, or they'll smudge if anyone picks one up too soon.
 Save to Pinterest
 My neighbor stopped by unexpectedly once while I was making a batch, and watching her face light up when I handed her a warm apple—the candy still crackling, the white chocolate barely set—reminded me that homemade treats carry a different kind of comfort than anything store-bought. These apples became our tradition after that, something we make together in late September when the weather shifts and fall feels possible.
Choosing the Right Apple
Not all apples behave the same way when coated. Granny Smiths stay firm and their tartness cuts through the sugar beautifully, but Galas and Honeycrisps add natural sweetness that some people prefer. The key is selecting apples that feel dense and heavy for their size, which usually means fresher fruit with better water content. I learned the hard way that softer apples absorb moisture and get mealy under the candy coating, so squeeze gently at the store and trust your instinct.
The Science of the Candy Coating
The jump from 250°F to 300°F is where the magic happens—at 250°F you're in soft-crack territory, which means the coating stays slightly chewy. Once you hit 300°F, you've reached hard-crack, and the coating becomes genuinely brittle and snappy. This is why the thermometer matters so much; a five-degree difference changes everything. I spent one afternoon making test batches at different temperatures just to understand the difference, and now I can actually see and hear the texture change in the coating once it's set.
Variations and Final Touches
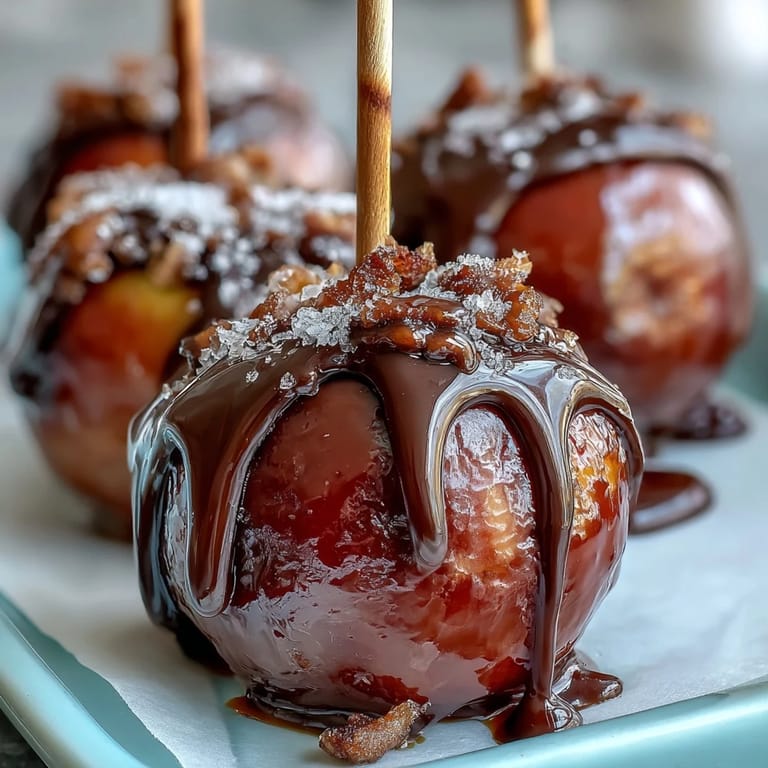
The red and white combination is classic, but candy apples invite creativity in a way few desserts do. Before the coating sets completely, you can roll the apples in chopped nuts, sprinkles, or even crushed candy canes if you're thinking ahead to the holidays. Some people skip the white chocolate entirely and add a second color drizzle with dark chocolate instead, or they use different gel colors entirely—I've seen beautiful emerald-green apples and deep purple ones that looked almost jewel-like on a platter.
- Roll the apples in toppings immediately after dipping, while the candy is still tacky and things will stick.
- Make sure any toppings are completely dry before you attempt them, or they'll just slide off into the sink.
- Store your finished apples in a cool room or the refrigerator, and eat them within a few days for the best crunch.
 Save to Pinterest
 These apples taste best the same day you make them, when the coating is crispest and the contrast between textures is sharpest. There's something deeply satisfying about making something so beautiful and delicious with your own hands, especially when you see someone's face the moment they bite through that candy shell.
Your Questions Answered
- → What types of apples work best?
Firm, tart varieties like Granny Smith or sweeter Gala apples are ideal for a balanced flavor and sturdy coating.
- → How do I prevent the candy coating from melting off?
Ensure apples are completely dry before dipping and cool the coating quickly on a greased, parchment-lined sheet to set firmly.
- → Can I add nuts or sprinkles to the coating?
Yes, roll freshly dipped apples in chopped nuts or sprinkles before the candy sets to add texture and flavor.
- → What is the purpose of cream of tartar in the candy syrup?
Cream of tartar helps prevent crystallization, resulting in a smooth, clear candy shell.
- → How should I melt the white chocolate for the drizzle?
Melt the white chocolate slowly in short bursts in a microwave or over a double boiler, stirring until smooth. Adding a small amount of coconut or vegetable oil helps achieve a silky drizzle.
- → Are there any allergy considerations?
White chocolate contains milk and may contain soy depending on the brand used. Check labels carefully if serving to those with allergies.