 Save to Pinterest
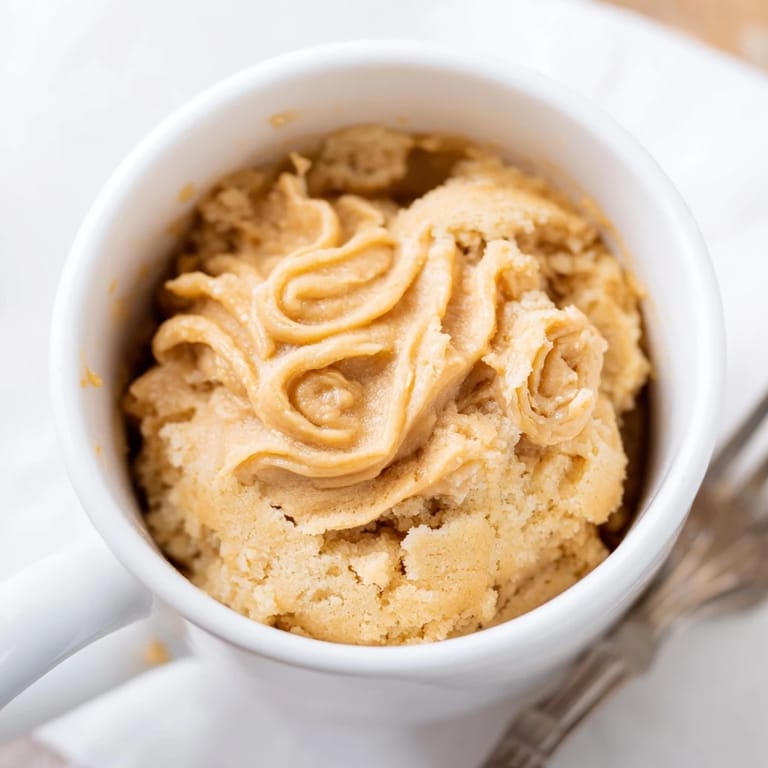
 Late one night, I was standing in my kitchen staring at an empty dessert craving and a packed schedule that made baking feel impossible. Then it hit me: what if I could make something warm and indulgent in the time it takes to brew coffee? I grabbed a mug, a fork, and a few pantry staples, and three minutes later I was eating fluffy peanut butter cake straight from the dish it was cooked in. That moment changed how I think about dessert entirely.
I brought one of these to a friend's house when I was supposed to contribute a dessert and had forgotten until I was already at their door. Watching their face when I told them I'd made it minutes before arriving, and then seeing them enjoy it warm with a scoop of vanilla ice cream, made me realize this little mug cake is kind of magical. It proved that effort and time aren't always the same thing in the kitchen.
Ingredients
- Creamy peanut butter: The star that makes this work, providing structure and that unmistakable flavor that fills the whole mug as it bakes.
- Unsalted butter: Melted and mixed with the peanut butter, it adds richness and helps create that tender crumb.
- Large egg: Your binder and leavening agent all in one, keeping the cake from being dense or gummy.
- Milk: Just enough to loosen the batter without making it soupy; dairy or non-dairy work equally well.
- Vanilla extract: A small amount that rounds out the flavor without announcing itself.
- All-purpose flour: Use a light hand here since overmixing is the enemy in microwave cakes.
- Granulated sugar: Sweetness with structure, balancing the peanut butter's richness.
- Baking powder: Just a quarter teaspoon is enough to give you that crucial lift and fluffy crumb.
- Salt: A pinch that makes the peanut butter flavor pop and keeps things from tasting one-dimensional.
Tired of Takeout? 🥡
Get 10 meals you can make faster than delivery arrives. Seriously.
One email. No spam. Unsubscribe anytime.
Instructions
- Mix the fat base:
- Combine the peanut butter and melted butter in your mug, stirring until they're completely smooth and integrated. This creates the flavor foundation and helps everything blend smoothly.
- Add the wet ingredients:
- Crack the egg directly into the mug, pour in the milk, add the vanilla, and whisk everything together with a fork until you don't see any streaks of egg white. Take your time here because the egg needs to be fully incorporated.
- Fold in the dry ingredients:
- Sprinkle the flour, sugar, baking powder, and salt over the wet mixture, then stir gently until just combined. Stop as soon as you don't see flour streaks; overmixing creates a tough, dense cake instead of the fluffy one you're after.
- Microwave:
- Pop the mug into the microwave and cook on high for 60 to 75 seconds, watching for the cake to rise and the top to look set. Every microwave is different, so start at 60 seconds and add time if needed.
- Cool and enjoy:
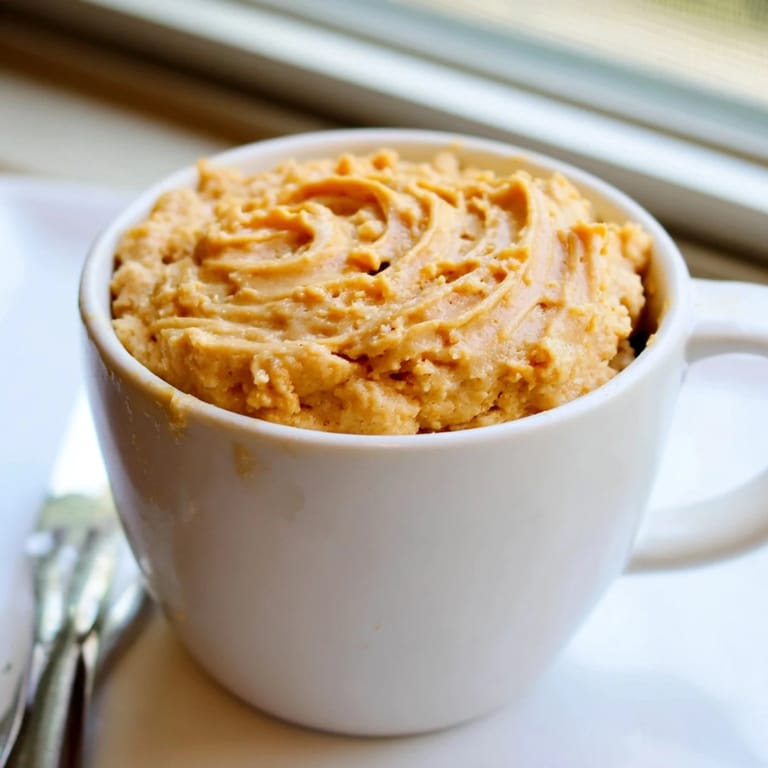
- Let it sit for a minute or two so the center can set a bit more, then grab a spoon and eat it straight from the mug while it's still warm.
 Save to Pinterest
 The real magic of this cake happened when I made it for myself on a difficult morning and realized that sometimes the smallest act of taking care of yourself, even just three minutes of making something warm and delicious, can shift your whole mood. It became less about the cake and more about the permission to have something good, right now, without overthinking it.
Flavor Variations to Try
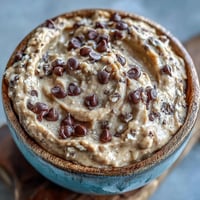
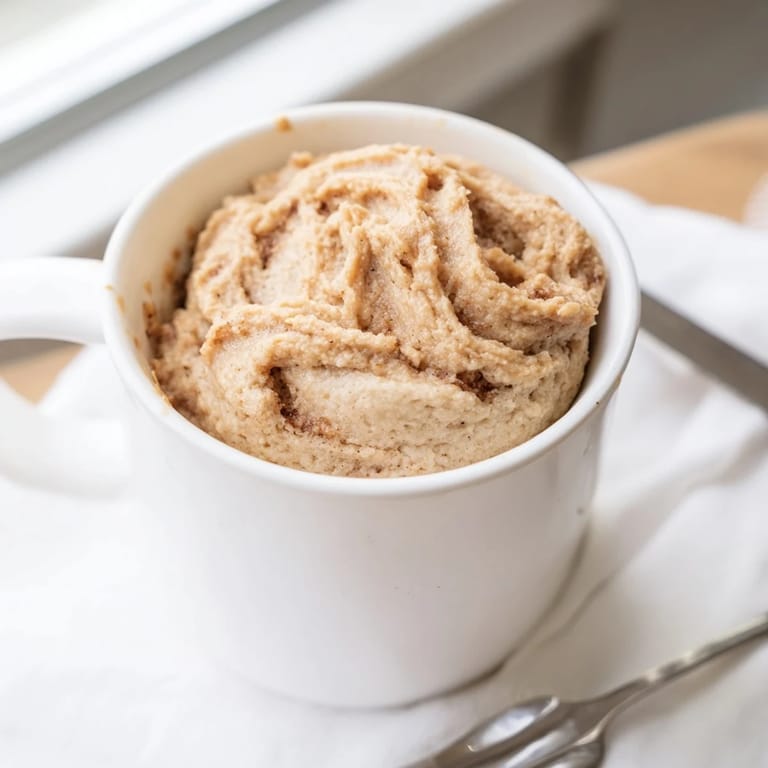
Once you've made this once, you'll start seeing possibilities everywhere. I've done versions with almond butter and a drizzle of honey, chocolate chips stirred in before microwaving, and even a teaspoon of cinnamon mixed into the dry ingredients for warmth and depth. The formula is forgiving enough that you can swap the nut butter for sunflower seed butter if you have allergies, or use chocolate hazelnut spread if you want something different one day. The beauty is that you can experiment without wasting ingredients.
The Mug Matters
Use a ceramic or sturdy microwave-safe mug that's at least 12 ounces because the batter rises more than you'd expect, and you don't want overflow. I learned this the hard way when I used a smaller mug and ended up with cake on the microwave ceiling. A straight-sided mug also heats more evenly than a tapered one, which helps the cake cook through without the edges getting too firm.
Toppings and Serving Ideas
Eating it straight from the mug is part of the appeal, but if you want to elevate it even slightly, the options are endless. While the cake is still warm, vanilla ice cream melts into every crevice and creates something almost like a peanut butter sundae. A drizzle of chocolate syrup, a sprinkle of chocolate chips, a dollop of whipped cream, or even a light dust of powdered sugar all feel luxurious in a way that seems wrong for something that took two minutes to make.
- Honey drizzled over the warm cake brings out a subtle floral note that complements the peanut butter beautifully.
- A handful of chocolate chips stirred into the batter before microwaving adds little pockets of richness throughout.
- A pinch of cinnamon or cayenne in the dry mixture adds depth and makes it taste more grown-up.
 Save to Pinterest
 This recipe lives in the category of small kitchen victories that remind you why cooking matters at all. It's proof that delicious doesn't have to mean complicated, and sometimes the best dessert is the one you actually make.
Your Questions Answered
- → Can I use non-dairy milk in this mug dessert?
Yes, substitute almond, oat, or other non-dairy milks to suit dietary preferences while maintaining moistness.
- → How do I avoid overcooking the dessert?
Microwave for 60–75 seconds and stop when the center is set but still moist to prevent dryness.
- → Can I add mix-ins to enhance flavor?
Absolutely! Chocolate chips, honey drizzle, or a scoop of ice cream complement the peanut butter base well.
- → Is it possible to make this gluten-free?
Use a 1:1 gluten-free flour blend instead of all-purpose flour for a gluten-free option.
- → What tools are needed for preparation?
A microwave-safe mug and a fork or small whisk are all that’s required for mixing and cooking.